
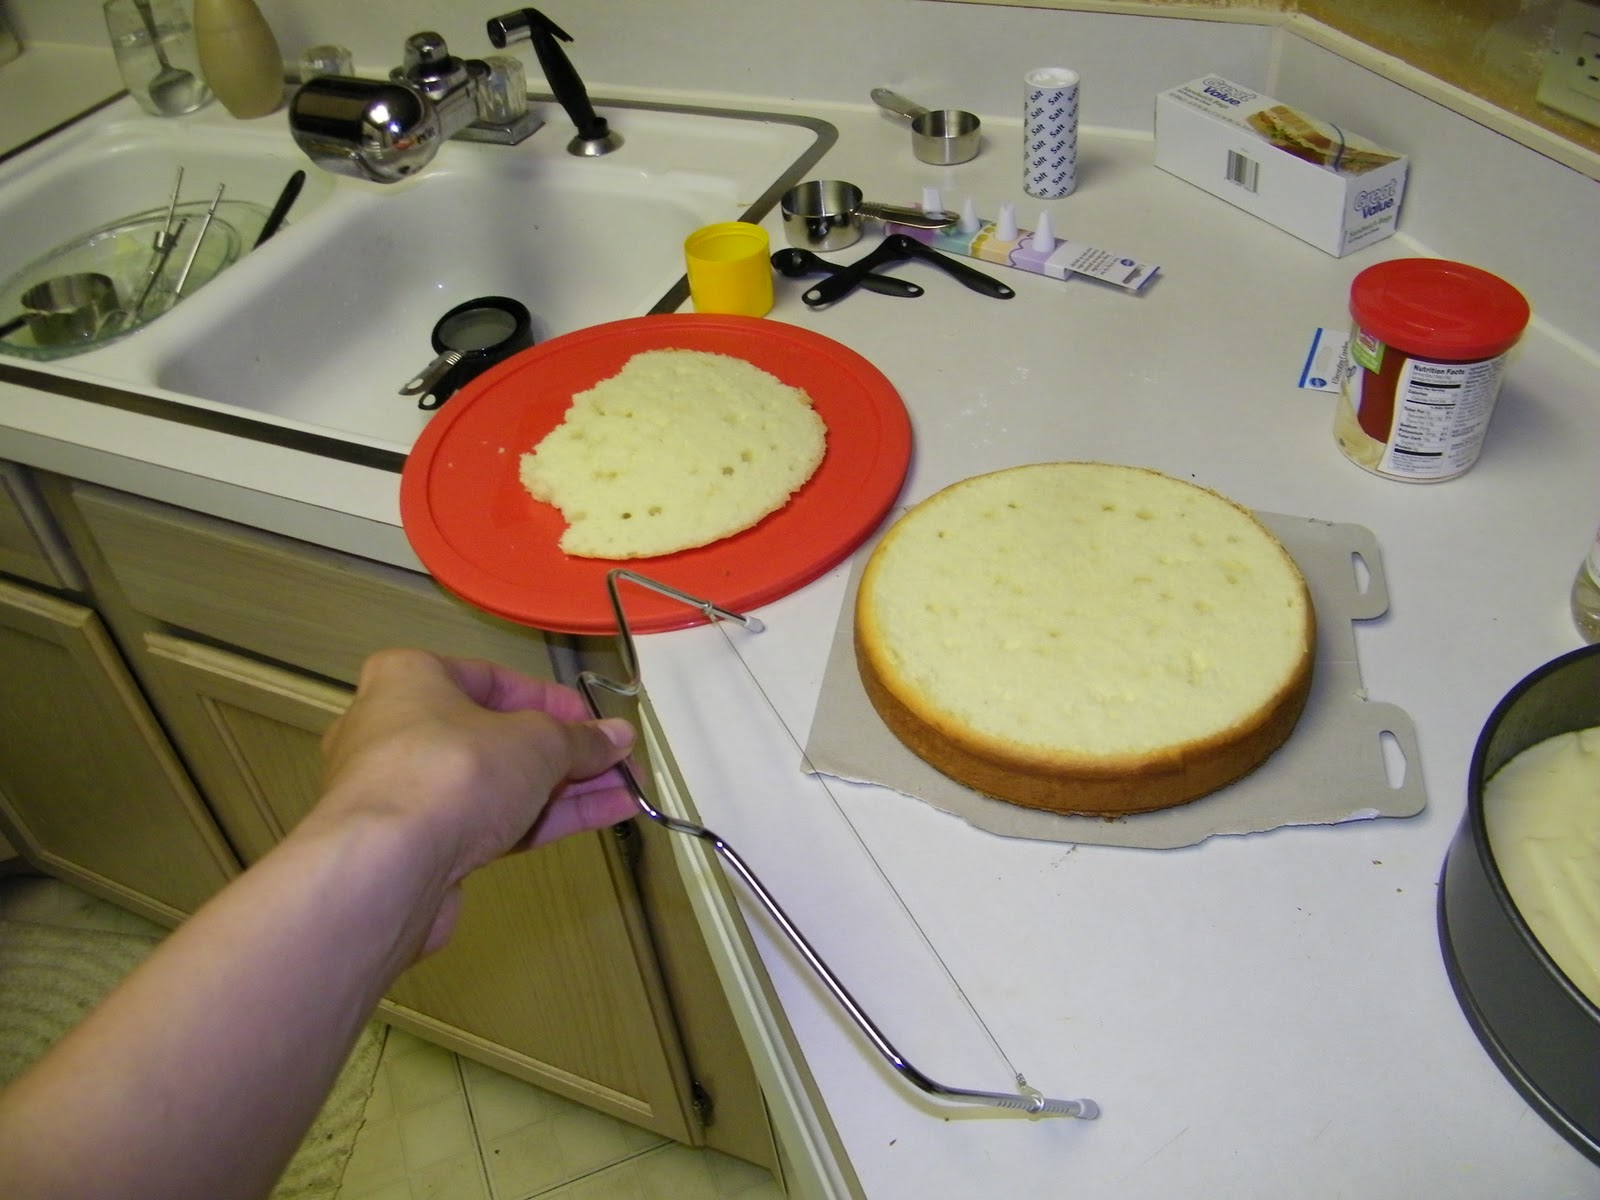
The following is pictures of when I did it. Then after the pictures, is the recipe for the actual cake itself. Following is the recipe and tutorial for the fondant. Hope you enjoy!


Recipe: White Velvet Cake
Makes 7 1/2 cups batter, enough for two full 8" rounds or one 9x13" sheet.1 box Pillsbury or Betty Crocker White or Vanilla cake mix
1 cup granulated sugar
1 cup + 2 tbsp cake flour (NOT all-purpose flour)
1/8 tsp salt
1 1/3 cups water
3 eggs
1/2 cup melted butter (lightly salted)
1 cup sour cream
1 tsp vanilla extract or almond extract (optional)
-----------------------------------------------------------------
1. In a large bowl, put water, extract (if using), eggs, melted butter and sour cream. Mix well with paddle attachment.
2. Add cake mix, sugar, cake flour, and salt.
3. Mix with paddle attachment at medium speed for approximately 2 minutes, or until most lumps are worked out. It is not necessary to work out all the lumps.
Pour into prepared pans and bake at 325 until a toothpick inserted into the center comes out
clean, or with just a crumb or two clinging to it.
Recipe: Marshmellow Fondant Tutorial
Yield: 3 lbs fondant 16 oz mini-marshmallows
2 lb powdered sugar
1 tbsp water
1 tsp corn syrup (optional)
1 tsp lemon extract (optional)
--------------------------------------------------------------------------------------------
Step 1: Melt marshmallows
Empty your bag of marshmallows into a large, microwave-safe bowl, and add water. Microwave until the marshmallows are puffed up and soft looking (about 2 minutes in my microwave).

Step 2: Grease a wooden spoon
This is really important - while your marshmallows are in the microwave, use a paper towel and some shortening to thoroughly lubricate a wooden spoon. Making marshmallow fondant is a sticky business, and this is one way to make it a little easier on yourself.

Step 3: Start to stir and add optional ingredients
Add your corn syrup and lemon extract, if you are using them. The corn syrup seems to help with flexibility of the fondant after it reaches room temperature, and the extract is for added flavor and to help cut the sweetness. The mixture should be kind of soupy as you stir it, and most of the marshmallows should be dissolved.

If you want to color this entire batch, you can add color now, rather than trying to knead it in later.


Step 4: Adding powdered sugarGradually, begin to stir in the powdered sugar.


Continue stirring and adding powdered sugar until you have used about 2/3 of the bag. Stop when it becomes difficult to continue to stir with the spoon.

Step 5 Turn out onto greased surface and knead
Turn out onto a greased surface. KEEPING IN MIND THAT IT IS HOT, begin CAREFULLY kneading with your hands, and gradually add in the rest of your bag of powdered sugar. You may not need to use the entire bag! You'll want to stop kneading when the fondant stops absorbing the powdered sugar, and it actually feels like warm fondant (this is where previous experience with fondant comes in handy). You may want to keep your shortening nearby so you can grease your hands as necessary.
* A special note about stand mixers: I know that some people use their stand mixer and hook attachment to mix their MMF. Some people are successful and have never had a problem, but I have read TOO MANY STORIES of people burning out their mixer's motor this way! It's not worth the risk, folks! Your stand mixer wasn't made for this!


When you've reached this point, it's time to grease the outside so that it won't dry out, and then put it in a gallon-sized ziploc bag to rest. It should rest for several hours, preferably overnight. Right now it is too warm and soft to use.


When you are ready to use your MMF, grease your work surface with shortening and a paper towel. Be sure to cover every spot, there is nothing worse than having your fondant stick to the mat!

The two most important things to have on hand when working with marshmallow fondant are shortening and a microwave. Marshmallow fondant does not loosen up with kneading, like traditional fondant.
This is fondant straight from the bag. If it is too hard to roll out, put it in the microwave in 5-second increments until it is kneadable. It's important to not "melt" your MMF! You just want to soften it enough so that you can knead it and roll it out! A liberal coating of shortening on your hands will assist with the kneading process.

Roll out as you would for any other kind of fondant, and cover cake as usual.

Here is the actual cake that was made with this batch of MMF! (Difference in color is due to lighting.) The cake is a 9" and 6" round, and there were a few ounces of MMF left over.

This recipe makes 3 lbs of MMF, and costs me about $3.50 to make. This is highly economical, especially compared to the cost of pre-made fondant!
Store your MMF by wrapping as airtight as possible (double-bagged in ziploc bags works well). It will keep for a month or so. Just pop it in the microwave for 5-second increments and use your hands covered with shortening to make it soft and workable again. You'll know when the MMF is no longer "good". It will be hard as a rock and will not soften up in the microwave. Then it's time to toss it and make some more!